Sunday, March 18, 2018

Cloud Bread - update

This morning I made a bunch thinking that I could grab them in the morning quick on the way to work.
I tried substituting the baking powder with Cream of Tarter.


They taste relatively the same, but they did not puff up like Yesterday.
It may not have been because of the cream of tarter, I may not have whipped the whites enough.

I will try it again when these run out.

If you want to see the recipe click here

Saturday, March 17, 2018

Coud Bread

I searched to find a bread substitute, and I assume since your reading this you did as well.
Second batch

I found a few recipes for cloud bread. So far I've made it twice.
The first time I did not have all the ingredients, but it still came out ok. 2nd time I had everything below.

Ingredients

  • 2 large eggs 
  • 2 Tablespoons Greek Yogurt
  • 1/4 teaspoon Baking Powder
  • A pinch of Salt (optional, I did not use salt, and it tasted ok)

Directions

  • Preheat your oven to 400 degrees (first time I did 450, 2nd time 400, and it turned out better) 
  • separate your eggs into 2 bowls
  • put the baking powder into the whites
  • whip the white
  • spoon the yogurt into the yokes, and mis with a fork
  • pour the whites into the yokes and fold gently
  • Put some parchment paper on your baking pan
  • spoon out 6 on the parchment paper
  • bake for 12 minutes or till golden brown

Review

They tasted pretty good, I will do this again.

Yesterday I did not have any yogurt, but made them anyway without the yogurt. They were good, but were really eggy tasting. I like eggs - so not a big deal to me.

We went to the store last night and picked up some yogurt, so I made some more this morning. They did taste better and less eggy.
Ate them with some baked turkey bacon like tacos. Pretty good.

I plane on substituting cream of tarter for the baking powder. I need to watch my sodium intake. I will post about that when I do it. 
I might make a batch Tomorrow, to have in the fridge for breakfasts during the week.
1st time I made them, you can tell they are a little darker.

If you have better ideas let us know.


Saturday, February 3, 2018

Biscuits!


I do like Biscuits!

Those sourdough biscuits are good, but my son is not a fan of the sour taste yet.

Looked online for a new recipe to try. Checked out Betty Crocker.


2 cups of flour, 1 tablespoon of sugar, 3 teaspoons of baking powder, 1 teaspoon of salt, a stick of butter.
The recipe says 3/4 cups milk, but I was in the kitchen and forgot what it said. I just poured milk in until I made a sticky dough.
Added a little more flour, because I made it too sticky.


Rolled out the dough and folded it a few times, and rolled out again to about an inch thick. Used a 1 cup measuring cup to cut out the biscuits. 

Dad told me my Gran used to use cans from canned vegetables. I want to try that, but never think about it until its time to cut the biscuits.

So... cut out the biscuits, roll the left overs out again and cut some more until you're out of dough. 

I could have made a really small one with the left over, but thought it might burn. I put the left overs in my Sourdough starter jar. I do not see a reason to waste flour. 

This made 7 biscuits. Thinking further on this, mine may have been thicker than 1 inch.


Preheat oven to 450, the recipe says to cook 10-12 minutes or until golden. Mine took 17 minutes to get the golden color. Again, mine may have been bigger, so took longer.

I also stuck a pan with about an inch of water in in the bottom of the oven. 
Ok so my eye is not calibrated, I actually don't know how much water I put in that pan. I'm not sure what that does either, but I read it somewhere it makes me feel like I know what I'm doing.


Success my son likes them.
I like them also.

Sunday, January 21, 2018

Bread

I know Ive posed this recipe before, but its a good one.

We made some more bread about a week ago.
2 cups of starter
1 cup of warm tap water
1 tsp salt
1 tsp sugar
Honey (just because)

Mix that in a bowl, and add flour until it looks and feels like dough.
Let it rise. You want it to double in size.

I actually put this in the bowl Friday afternoon and forgot about it until Saturday.


It rose a little


Punch it down. If it is real sticky, add a little more flour. fold it a few times, and put it in a bread pan. Let it rise again. 

Wet the towel some so that it will not stick to the bread.


Stick it in the oven 375 for 30 minutes, then start checking it with a knife to make sure the center is cooked.


Eat it.

I sure like this recipe. It is easy and tastes good.
What else can you ask for?

Tuesday, January 2, 2018

There's a Hole in the Pocket


As Red Green says "If the women don't find you handsome, they should at least find you handy."

I had a hole in my coat pocket, so I figured I would sew it up instead of bothering my wife about it.
My mother gave me this sewing machine a long time ago. It does not get much use, so every time I do use it (once  every 10 years or so) I need to figure out how it works all over again.

As you can see the birds nest under the fabric. I assumed it had to do with the bobbin since it was under the fabric. Turned out I had the thread routed wrong.

Well, I didn't have the thread routed at all really, just down to the needle. Evidently the thread needs some tension on it to work properly.

Wrong Way
Routed the thread properly. Success - I did not stick the needle through my finger and my jacket pockets no longer have holes in them.

The end product is still messy, but it works.

While I had the sewing machine out; I sewed up a hole in the pocket of an old pair of pants, and just for good measure I sewed up
the other pocket.


Now my keys wont fall in my boot.
Right Way


Saturday, December 30, 2017

Sewing a Knitting Needles Case

If you are a knitter or crocheter, keeping your needles or hooks organized is a definite must! When they are scattered here and there, it gets very frustrating when all you want to do is simply grab the size you need and start working on your project pronto.

My crochet hooks are pretty much organized but my knitting needles... not so much. I thought I'd tackle organizing the straight needles first and later get to the circulars and dpn's (double-pointed needles). Now, I guess I could buy a knitting case. I mean, they really aren't that expensive, but I thought I'd take this opportunity to refresh my sewing skills. That and I have a stash of fabrics that needs to be pared down.

So with pencil and paper, I got to thinking and jotted down my design and measurements. This part, to me, is very important because then I'll have an idea of what the finished piece should look like and how to construct it. Otherwise, I'll likely make lots of mistakes and waste resources and time causing me lots of frustration.

After that crucial part, comes the cutting of the fabrics. In case you can't make it out, the top fabric is an adorable pattern of Jacks!


Then with a pin here, a whir there (I love the sound of the sewing machine!) and iron, iron, IRON. Seriously, ironing is such an important step in sewing. Along with pinning, it helps to keep your fabric in place while you are sewing. I wish I had taken pictures of the sewing part but I always forget to grab my camera when my mind is occupied with the task at hand.

And here is the finished project:


Tuesday, December 19, 2017

Crochet Doily: To Block or Not to Block

A lot of times, knitters and crocheters don't realize their finished project needs to be blocked. I know once you are done with your project you want to say, "I am so done! I don't want to look at it again,"  but it is such an important process and really shouldn't be skipped. Especially if you want your piece to look polished and professional.

So... What is blocking? When you block you are shaping your project to the pattern dimensions or simply to be able to show the stitch pattern. Why is blocking important? When your project has to have certain dimensions such as sweater pieces so they can easily be sewn together and fit properly. Surely, you don't want one sleeve shorter than the other. Also, if you have worked intricate stitches such as in a lace pattern, blocking helps set the  pattern and the stitches are more visible. So show off those beautiful stitches you worked so hard on! How do you block? The process is simple, but does take some time. You can either wet block or steam block. I personally prefer steam block but that's because I'm usually working with cotton or acrylic. If you are working with animal fibers then you will want to wet block. I would suggest you google that process if that's the route you need to go. Either way you have to add moisture to your project.

In this post I'm going to explain how I steam blocked my crochet doily (this is the same doily that I had to frog a few posts back: Link to post). First you'll need to find a place where you can attach your piece(s) and not have it disturbed. I've used the ironing board or even my bed. I'm thinking about getting some foam floor tiles because those work well too. Next you measure out your dimensions and place some tape (painter's tape works well). You can skip this part if you don't really need to adhere to any dimensions such as with a scarf. Place your piece down and get to pinning! This part is time-consuming but oh so important. I like using quilting pins.


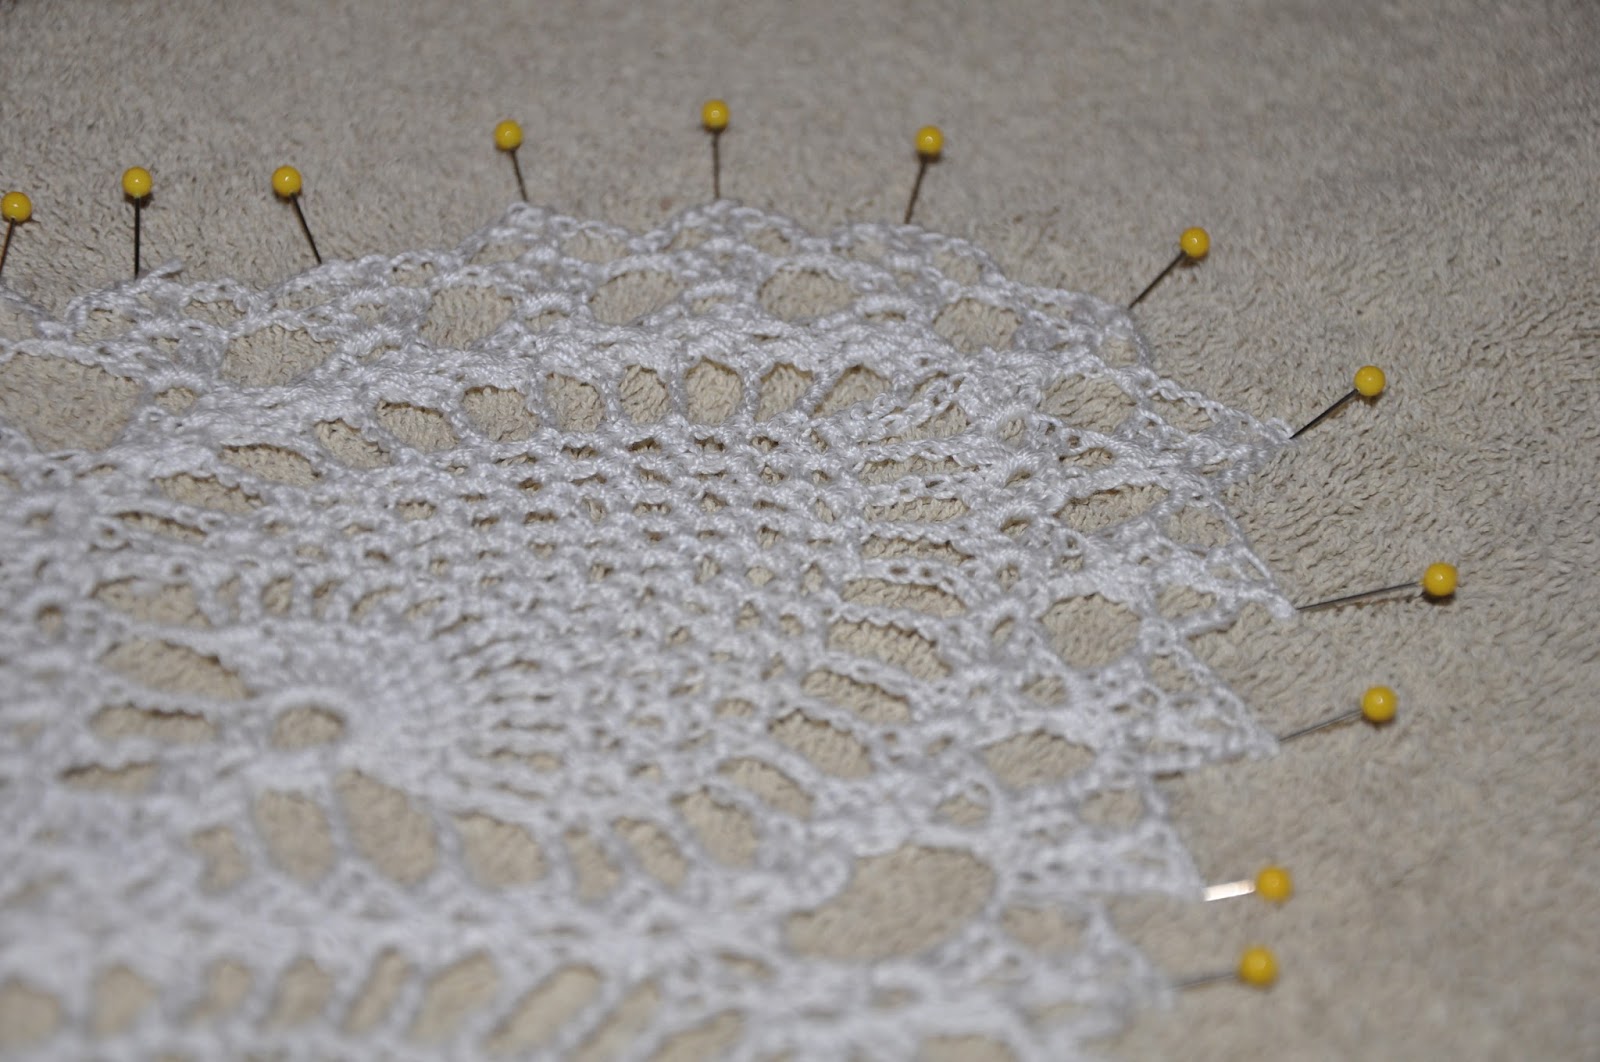
With this doily I made sure to place a pin in each picot. I was using the ironing board and, unfortunately, the board was just barely wide enough so I didn't get to pin some of the picots but it still turned out good. Here is what it looked like with the picots pinned:


Next, grab your iron and steam away! I had the setting on cotton since the thread is made of cotton. If you are working with acrylics, then place the setting to acrylic. Place the iron about an inch from the piece and blast the steam around for just a bit. It doesn't take much. You can gently press the iron onto the doily but not too much. You don't want to completely flatten it. Once you are satisfied, let it sit and dry. This may take just a few minutes. If you want your doily to be stiff, then you may need to add starch. I personally do not like adding starch unless I'm making little doily coasters.

Here is the finished piece: 


 Here is the blocked doily next to one that has not been blocked: 


See the difference? In the blocked piece you can really see those picots and the pineapples!

I hope this post helps you understand how important is it to block. Remember, not all projects need to be blocked but if you have a finished piece and you want to be able to see those stitches, then take the time and care needed to block.

NOTE: This post was moved from the B. Art Journey blog. Originally posted on Dec 18, 2017.

Crochet Doily: Frogging

Sigh. I'm frogging. This is what happens when you let too much time pass since working on a doily. I think it's been about three or four months since I worked on this. A mistake was found and I had to frog. If you are not familiar with the term "frog" in the knit and crochet world, it simply means to "rip it, rip it, rip it". You're simply unravelling your project.

Trying to find out where you made your mistake in a complex pattern such as a doily is like trying to go through an Escher stairway and your eyes get crossed. So forget that. I'm starting over.

The good thing about these doilies is that they are surprisingly quick to make. This pattern is called Pineapple Doily Pattern and here's the pattern in case you are interested: Pineapple Doily

I hope everyone is having a holly jolly Christmas season!

NOTE: This post has been moved from the B. Art Journey blog. Originally posted on Dec 3, 2017.

Saturday, December 16, 2017

Sourdough Biscuits -

Like someone's Grandma's Sourdough Biscuits.

First time making sourdough biscuits, I hope it was just not beginners luck. They tasted great!


I searched online for "sourdough biscuits" and the first link was
Geniuskitchen.com and read "Grandmas Sourdough Biscuits". How could I go wrong if this was
someone's Grandma's recipe?

You should check it out.

Ingredients

  • 1 cup Flour
  • 1/4 tsp Salt
  • 1/2 tsp Baking Soda
  • 2 tsp Baking Powder
  • 1/3 cup Butter or Margarine
  • 1 cup Sourdough Starter

Extremely easy. I threw the stuff in a bowl, then my wife pulled out some "pastry blender tool" and said that is what it is for. I still think it is some zip line attaching device that she has been holding onto for some reason, but what ever I used it. Give me a tool - I will figure out how to use it some how.  You could use a large fork.

Knead the dough some and roll it out. Of course it depends on where you live and humidity, but I had to add a little extra flour so that I could roll it on the counter.

We do not have a biscuit cutter, but we had this 1/2 cup measuring cup. I cut the biscuits so that the handles was out on the edge, went all the way around the rolled out dough.  Then needed the dough, rolled it out again,  and repeated until I could not make any more biscuits.

Bake it: 425°F - 11 to 15 minutes till they look Yummy.

THEN with the left over, I just dropped it back in my starter container.
I really get a kick out of not wasting anything. 

I've had this starter for years, and every bit that goes into it we have used. I've read where some people will scoop out a cup, then throw it away just to feed the starter. If I scoop out a cup, eating it!
So these biscuits worked out perfect. Something else to add to my list to
make with the soughdough starter.
  • Bread
  • Garlic bread
  • Biscuits
Give me some ideas if you got any.

I cooked these for 11 minutes, and rotated the cooking sheet, then cooked them another 4 minutes. Checked the bottom of one and called it.


They tasted really good. They are the flaky kind  biscuits.

Anyway, go to the site get the recipe and give this a whirl.


She went to the store. They just don't make zip line hooks like they used to.  Honey, where'd you say you bought that one? We might need to get another one that can handle 200 lbs. 😜


Wednesday, December 13, 2017

Dallas Arboretum and Botanical Garden


If you ever visit Dallas, one of the best places to visit is the Dallas Arboretum. We went today because Wednesdays are their BOGO (Buy One, Get One admission) days AND if you purchase your parking pass online you also save money ($8 online vs $15 onsite). Maybe someday I'll get a family membership but just not right now. My kiddo wanted to do the separate Children's Adventure Garden so that was an additional $3 per person.

Their Christmas theme is the 12 Days of Christmas and let me tell you, the displays are absolutely gorgeous! I was pleasantly surprised. There are 12 Victorian gazebos throughout the garden and each represents a day from the beloved Christmas carol. Aside from the mannequins creeping me out (I have this weird fear of old-timey mannequins), the Victorian designs are exquisite with plenty of splendor and dazzle. A definite must-see if you can!

The 1st Day of Christmas display
A Partridge in a Pear Tree
A Goose A-Laying
Swans A-Swimming
Details from Ladies Dancing
10 Lords A-Leaping
Pipers Piping
Look at those spats!
Besides the 12 Days of Christmas, they also have a Nutcracker collection in the DeGolyer House. I hate to admit it, but I'm not a big fan of nutcrackers. I guess I've seen too many at Hobby Lobby. STILL, they were nice to look at and I DID like the Nutcracker tree with ornaments of the characters from the Tchaikovsky ballet.


They're so cute! I was hoping they were available in the gift shop but alas! They did not have them. 

In the DeGolyer house is a library to envy. The books, not so much since they were all law books. But still... Look at this! Floor to ceiling bookshelves! A floating ceiling! A fireplace (not shown)! 

DeGolyer Library
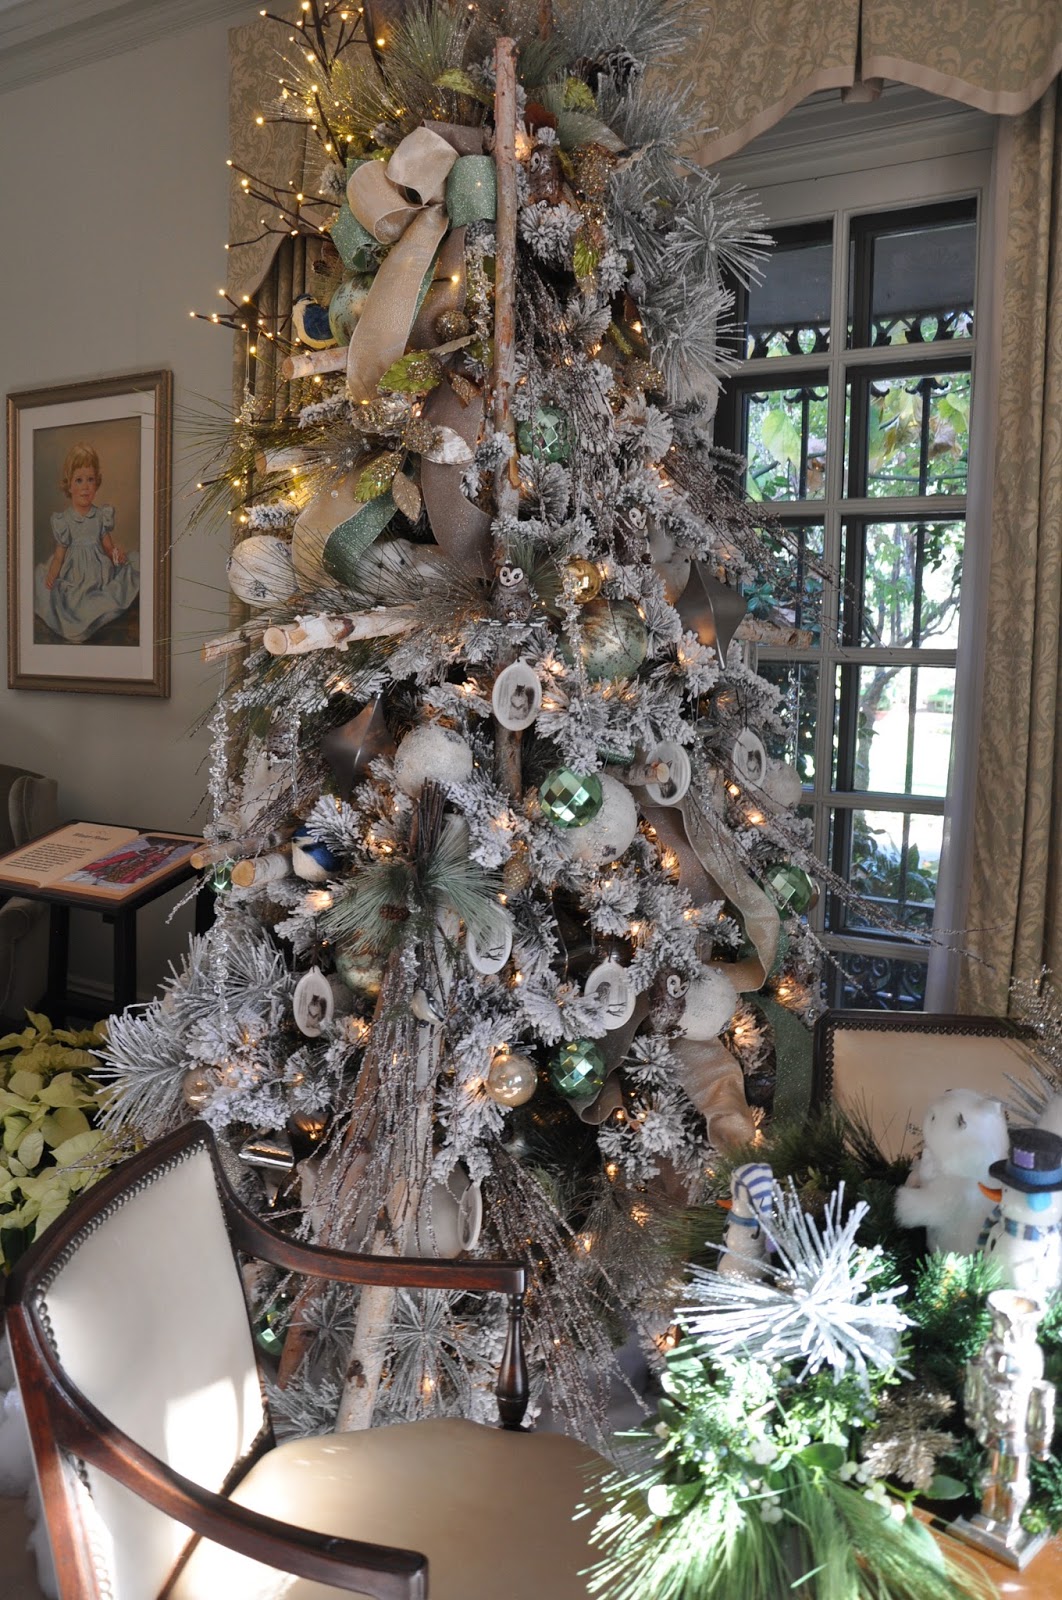
Perhaps my favorite part of the DeGolyer House tour was the Woodland Tree. So whimsical was it with the most adorable creatures in and around the tree. Just look at the fox all curled up in the tree. I seriously wanted to pet it.
Woodland Tree in DeGolyer House
Little fox in the Woodland Tree

We were at the Arboretum for a good three hours and needless to say, I was beat. It was worth it though, because the kiddo had a great time. I wish I could post more pictures but I took a lot and there are just too many! I WILL, however, leave you with this little guy:

Camp House door knocker


Field Trips - Crayola Experience and Legoland

Field trips...  They make homeschooling a lot more fun and fortunately our local homeschool group is awesome with coordinating them. They of...